Blogging with WebYep
If you're going to be doing a lot of regular blogging, then a platform like Wordpress, Medium or Ghost remains your best option. For infrequent blogging and blogs that don't need lots of fancy features (like searching, multiple categories, comments and RSS feeds), then WebYep can be a wise choice.
A WebYep-powered blog can support lots of different content types (writing, images, audio and video), it can tie-in closely with the design of an existing website, and it can still promote ways for people to bookmark or share interesting articles.
In essence, a blog is merely a series of articles published in date order, normally newest ones showing at the top. The word 'blog' is derived from 'web log'. Most blogs typically display a list or grid of articles. When the user clicks a link, they get directed to that article. Articles often exist as individual webpages. The blog we're going to build with WebYep is no different.
There are actually two options for building a basic blog using WebYep; depending on how you want your blog summaries displayed.
- Using the menu element. This will create a vertical list of page (article) titles. Clicking one of these links loads a dynamic page, that contains the content of the full blog article.
- A combination of a loop and read more element. This method creates a more conventional 'blog summaries' page, comprising of titles, summaries and 'read more' links. Clicking the links reveals the full blog article, dynamically loaded into a new page.
A brief explanation of 'dynamic' pages
What exactly is a dynamic page? Dynamic pages are not physical pages (like index.html) that can be found on your web hosting account, via the file manager or FTP. A dynamic page instead gets generated 'on the fly', only when a web browser requests it. The different parts of the page get populated with your content (by the web server), and then both the page and its content is sent down to the web browser (the website user).
The whole process happens extremely quickly (within milliseconds). A lot of publishing platforms work like this, including ones like Wordpress, Joomla, Moodle, Drupal and ConcreteCMS. It's a more efficient method of having potentially thousands of articles or pages that all share the same design template, where only the content changes.
Another useful aspect of dynamic pages is that most modern web browsers can detect that the page structure and style is mostly the same each time, with only the content changing. Therefore web browsers will often cache these pages in their memory; resulting in faster loading web pages and less bandwidth.
The only possible downside of using dynamic pages is that the links may not appear as 'friendly' to look at. You are probably going to start seeing more links like this:
https://example.com/blog?DOC_INST=123
I'm still researching to see if there is a method of tidying these links, to make them look better. Maybe using a proxy to smarten things up? If I find a solution, I'll share it here.
For now, you only need to know that the question mark and 'DOC_INST=123' is known as a query string. It's basically sending a query to the web server, saying "hey, can you load the content for article number 123 into this page please"! The IDs assigned to blog articles are unique and never change. So they so still work as permalinks you can use for sharing articles or linking direct to them.
Coding the blog
Whether you opt for using a menu element or loop and read more elements, the setup procedure for both is roughly the same. This tutorial explains how to code a simple blog using a loop and the read more elements. Because I feel this is most conducive to how many modern blogs look and work.
Start by creating a simple webpage named blog.php that will be host to the blog summaries. In the primary content region of this page, add a loop element. Within the loop, add HTML markup for an article, a short text element, inside an H3 for the blog titles. Add a long text element for the blog summary text. Then add a paragraph tag, together with a read more element. Inside a code editor, it will look something like this:
TIP: Until I get a lightbox setup on this website, please right click any images you want to view larger and select 'open in new tab' in your browser menu. I also provide the complete project file for download at the bottom of this page.
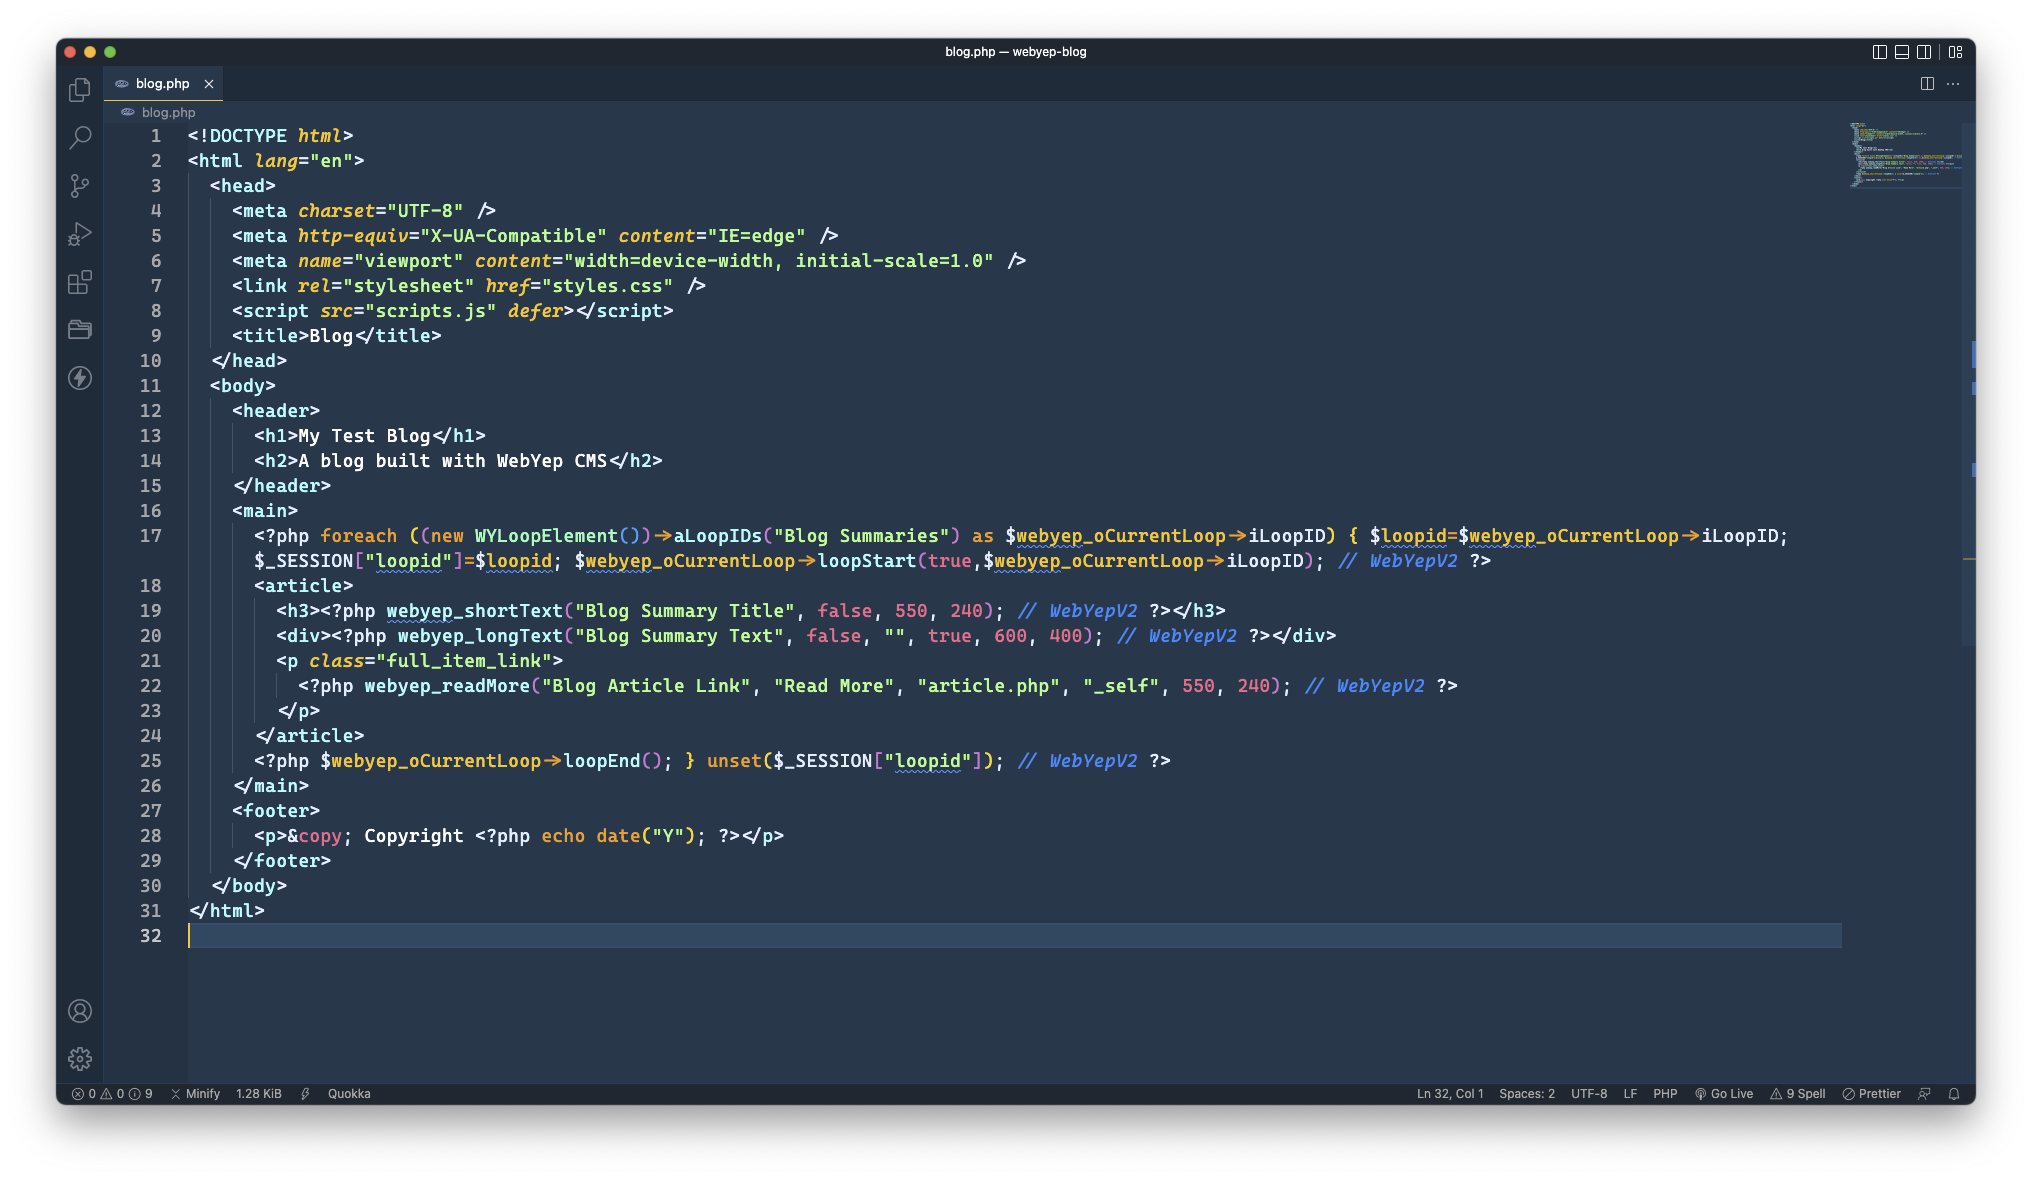
Within the read more arguments, the field name was set to 'Blog Article Link' the template page was set to 'article.php' which corresponds to what we're going to setup next.
We need to design a template that will display the full blog posts. You certainly could custom build quite an extravagant blog template that could feature things like custom banner images, sidebars, footnotes, custom meta tags and social media sharing buttons. For the sake of this tutorial, we'll keep things simple.
Create another webpage. This time, name it article.php. Store it in the same location as blog.php. Within the main page container of this page template, add an HTML article element, followed by two short text elements (one for the title and another for the date). Then either a long text or rich text element for the body content of the full blog post. This is what it looks like inside a code editor:
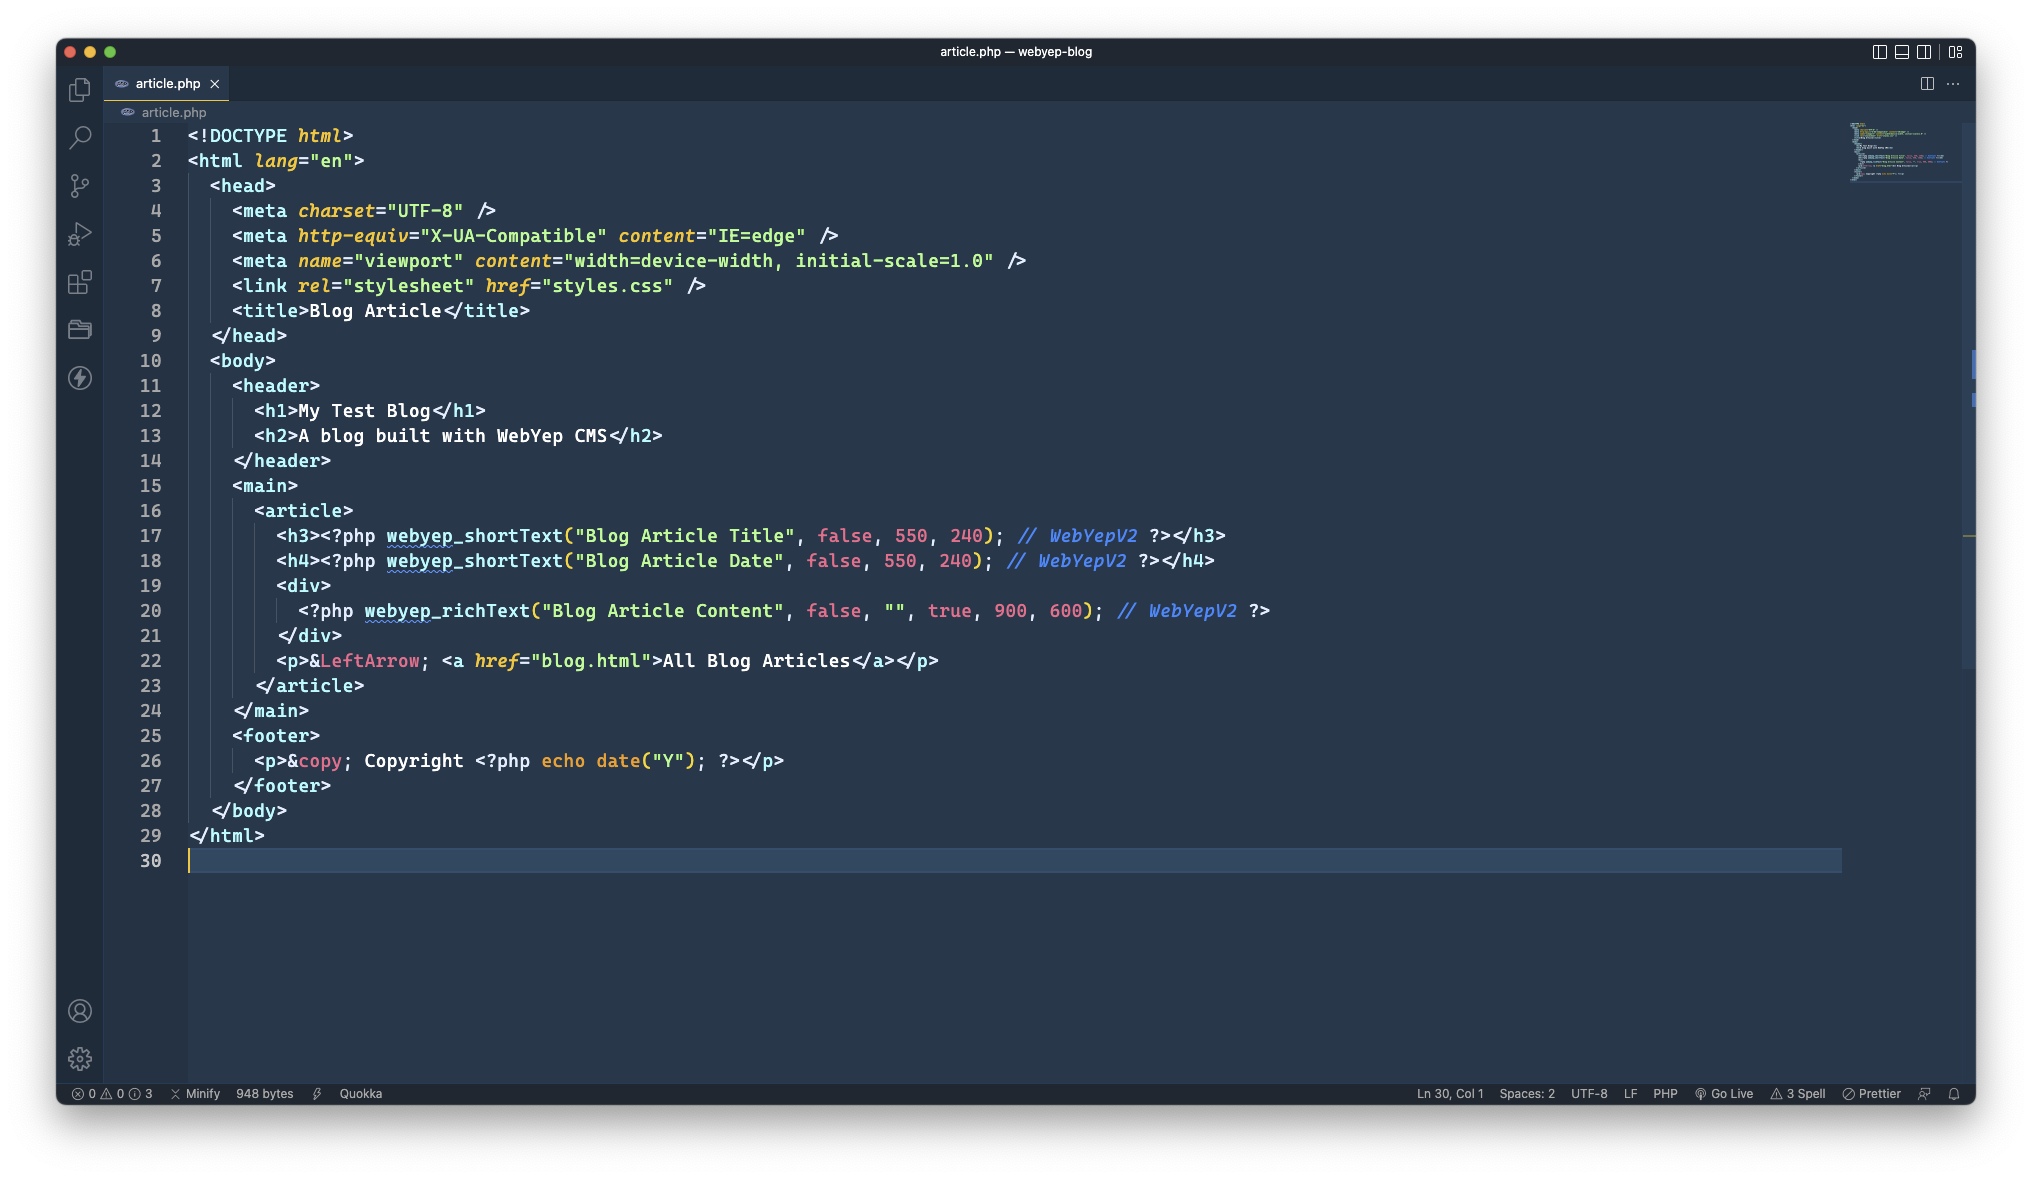
As a finishing touch, I added a link to the bottom of the blog template, so the user can easily navigate back to the blog summaries page again.
That is all the coding for both the blog summary and blog article pages complete. Quite incredible, that these pages can be coded in only about 30 lines of HTML and PHP. You would struggle to find a blogging platform that uses less code!
Applying links to the summary titles
This is optional, so feel free to skip past this part, if you want. A common feature of many blogs is that they also set their blog summary titles as links to the full article. We can achieve something similar with just a few lines of vanilla Javascript code like this:
const everyArticle = document.querySelectorAll('article');
everyArticle.forEach((blogSummary) => {
  const readMoreLink = blogSummary.querySelector('p.full_item_link a').href;
  const articleTitle = blogSummary.querySelector('h3');
  articleTitle.innerHTML = `<a href="${readMoreLink}">${articleTitle.innerHTML}</a>`;
});
Once added to the theme or template Javascript file, this code grabs each summary block on your summary page. Then it iterates through each summary block, fetching the 'read more' link and the article title. Finally, a template literal is used to replace the current title with one wrapped inside anchor tags, with the read more link applied.
Testing the final thing
With WebYep installed in the website and the init code added to the top of both pages, you'll now have a fully functioning blog. If you have not done so yet, add logon button elements to the bottom of blog.php and article.php, so you can login and begin blogging. It certainly will not win any awards for advanced functionality, but sometimes, a small website only needs a very primitive blog.
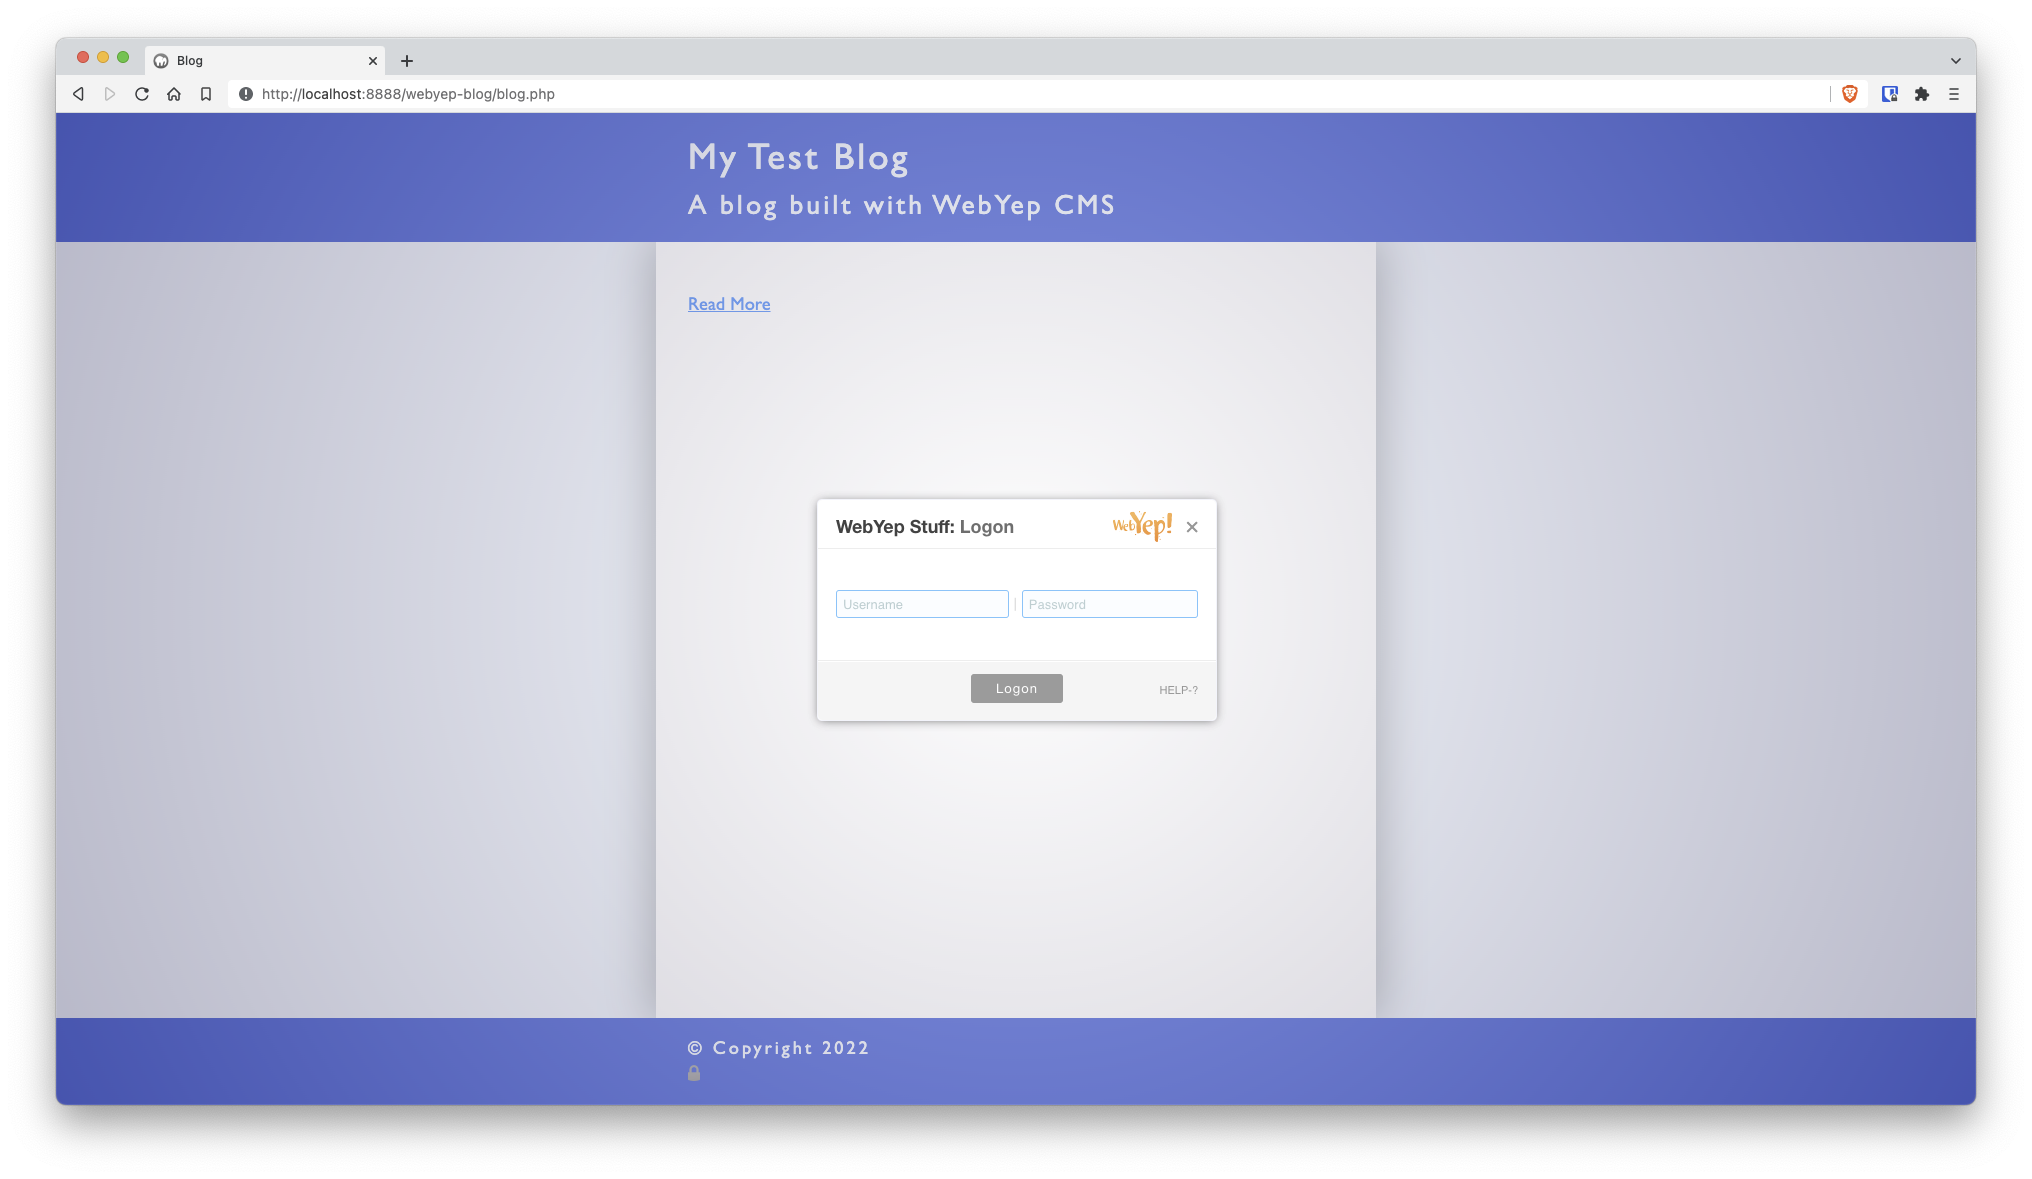
To add new blog posts, the website author should start on the blog.php page. Login at the bottom in the normal way, by clicking the padlock icon:
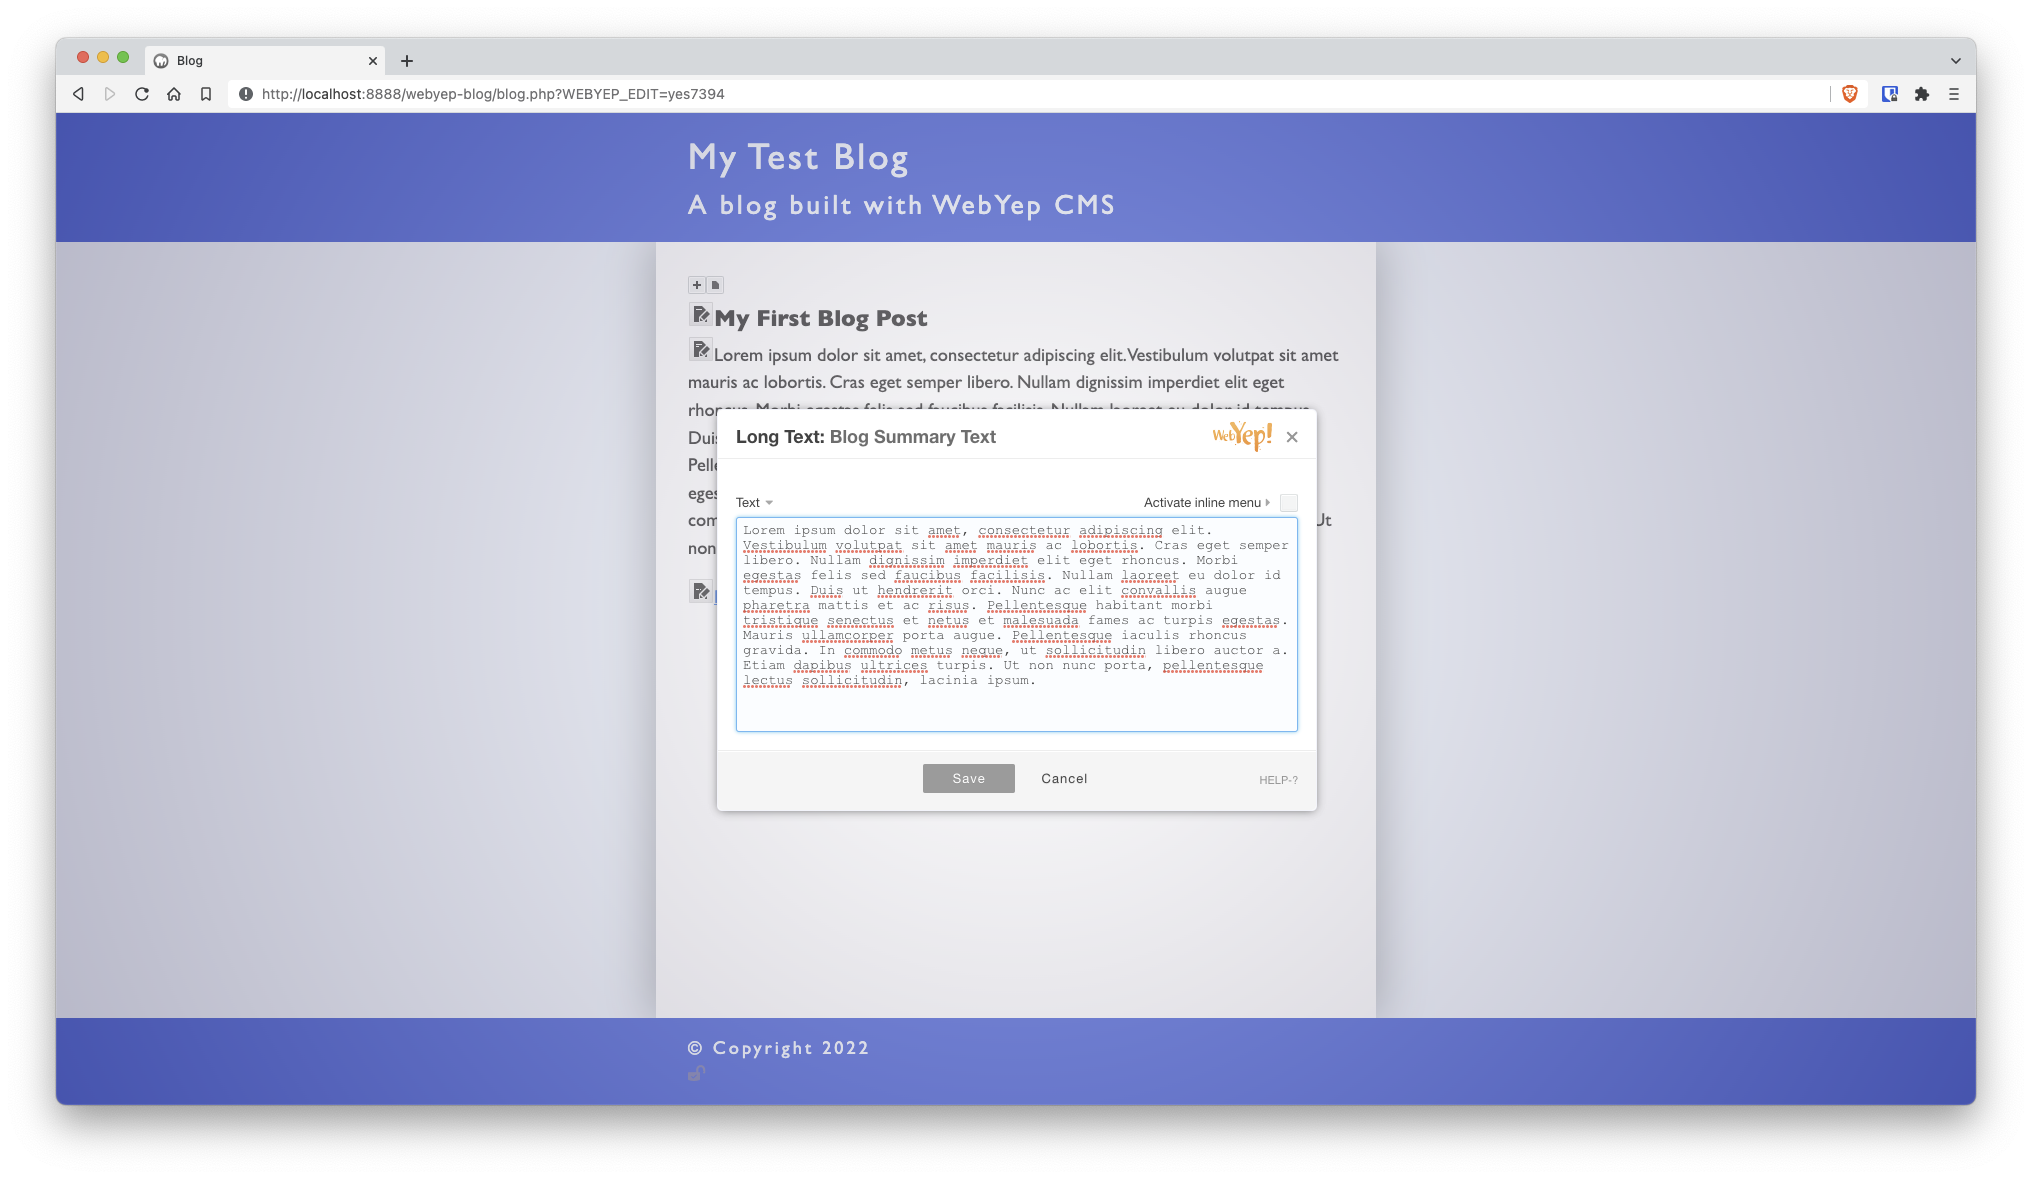
Within the loop, press the 'add' or 'duplicate' buttons to create a new blog summary. If the new article appears in the wrong position, it can be moved to the top quite easily. Add the title and summary text for this new article. For each element you edit, save the changes afterwards.
Click the 'read more' link on the new blog article summary. This reveals a blank page. Into this page, you can add the title, date and content for this new blog post. Here I am using the Redactor rich text editor for the full blog article content:
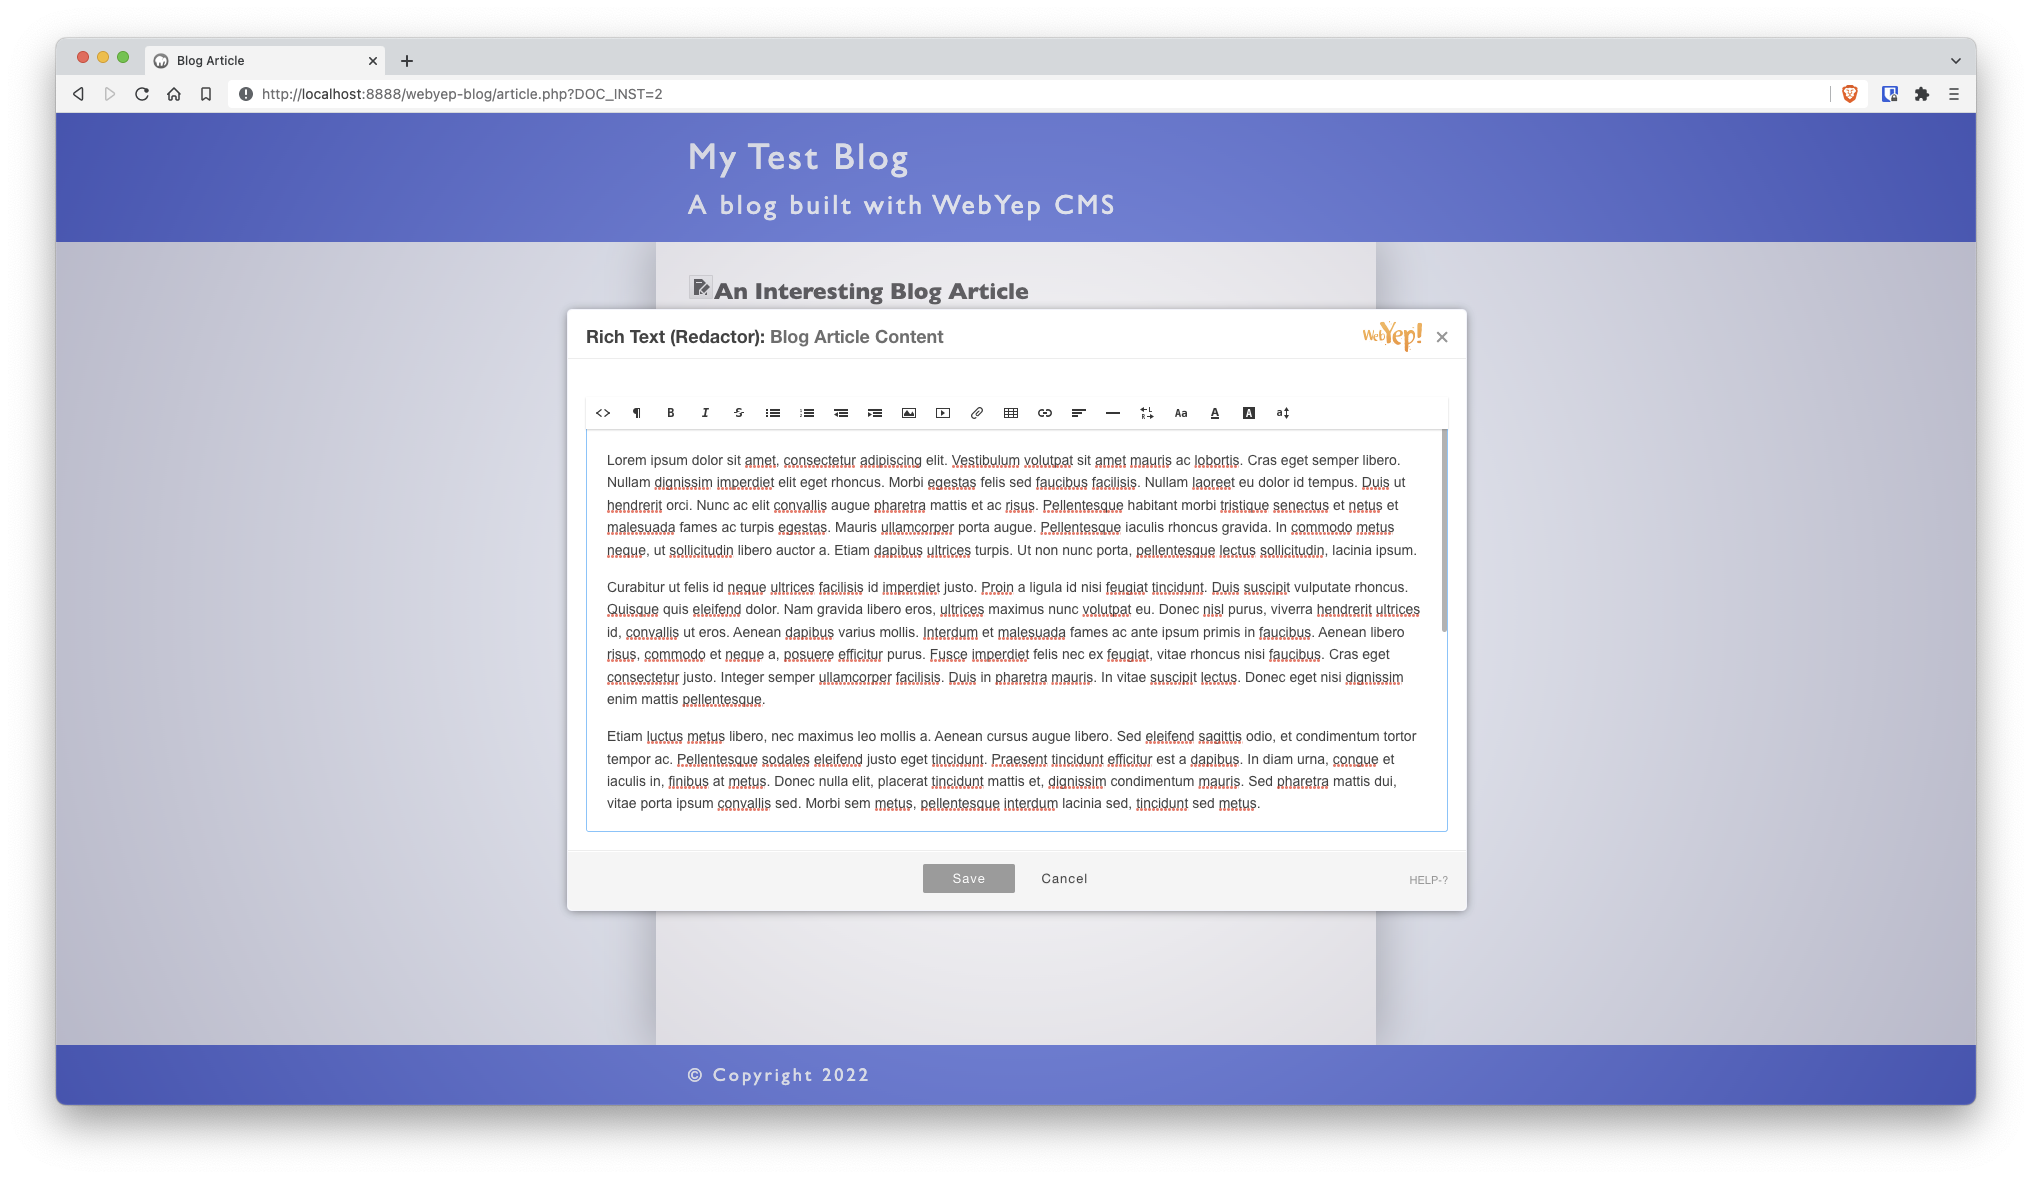
I would generally recommend you draft new blog articles in a normal notes app or word processor, then copy and paste the content as plain text into the new blog article. Writing lots of content directly in any CMS is never easy.
When you are done with adding your new blog article, save the changes and click the padlock button within the website footer to logout. Your new blog article is now available for anyone to view.
The beauty of this system (and WebYep CMS in general) is that an author can login from any tablet, laptop or desktop computer to post new articles. They are not tied-down to only being able to use one computer or specialist software. All the blog post editing is done within the web browser and saved instantly to the live website. Alongside styled text, blog posts could potentially include audio, video and images; without much extra effort.
The end user experience
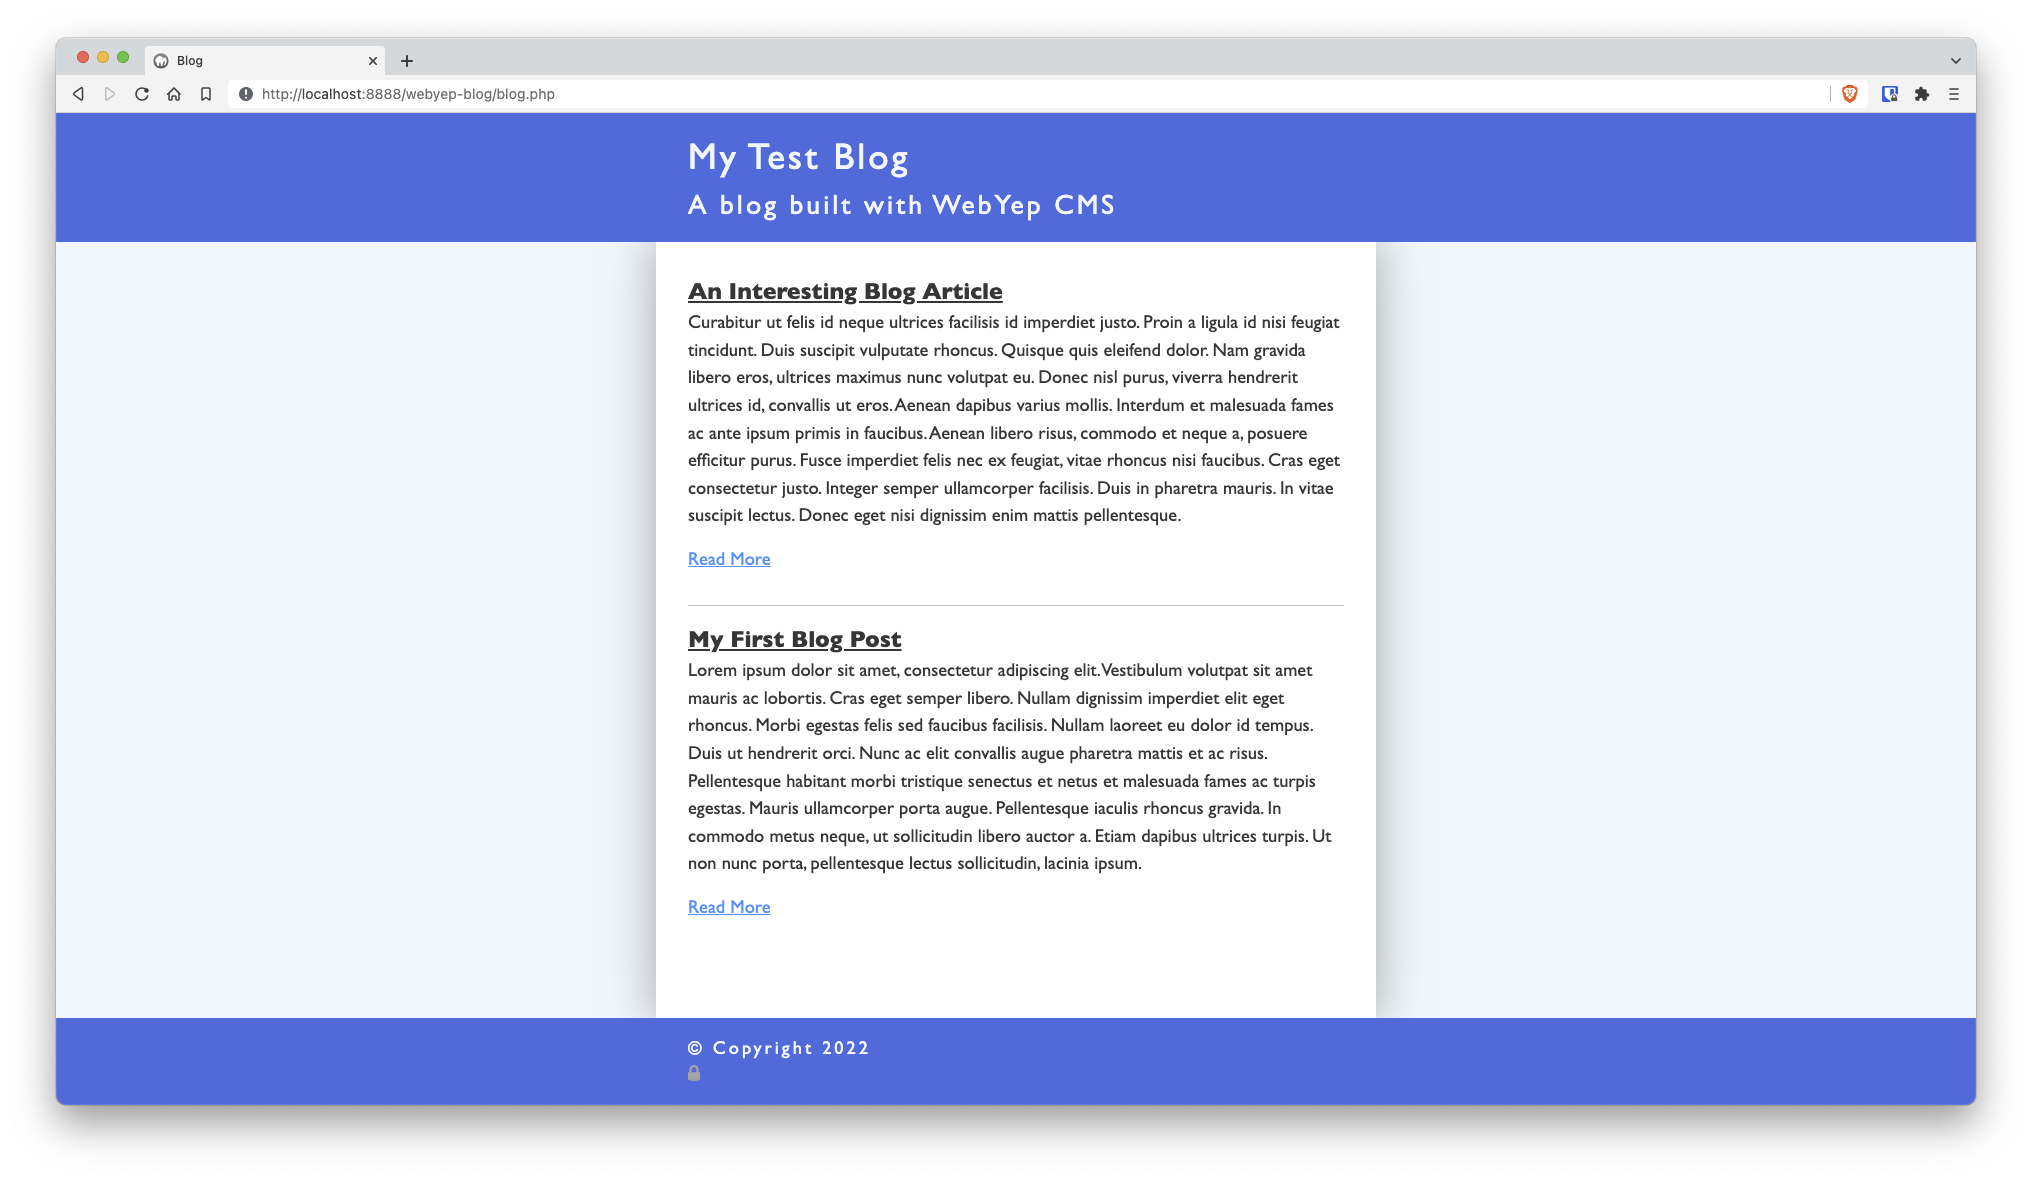
From the perspective of the website visitor, they will see titles and summaries of blog posts on blog.php, like this:
When they click an article title or a 'read more' link, the full blog article opens inside article.php, like this:
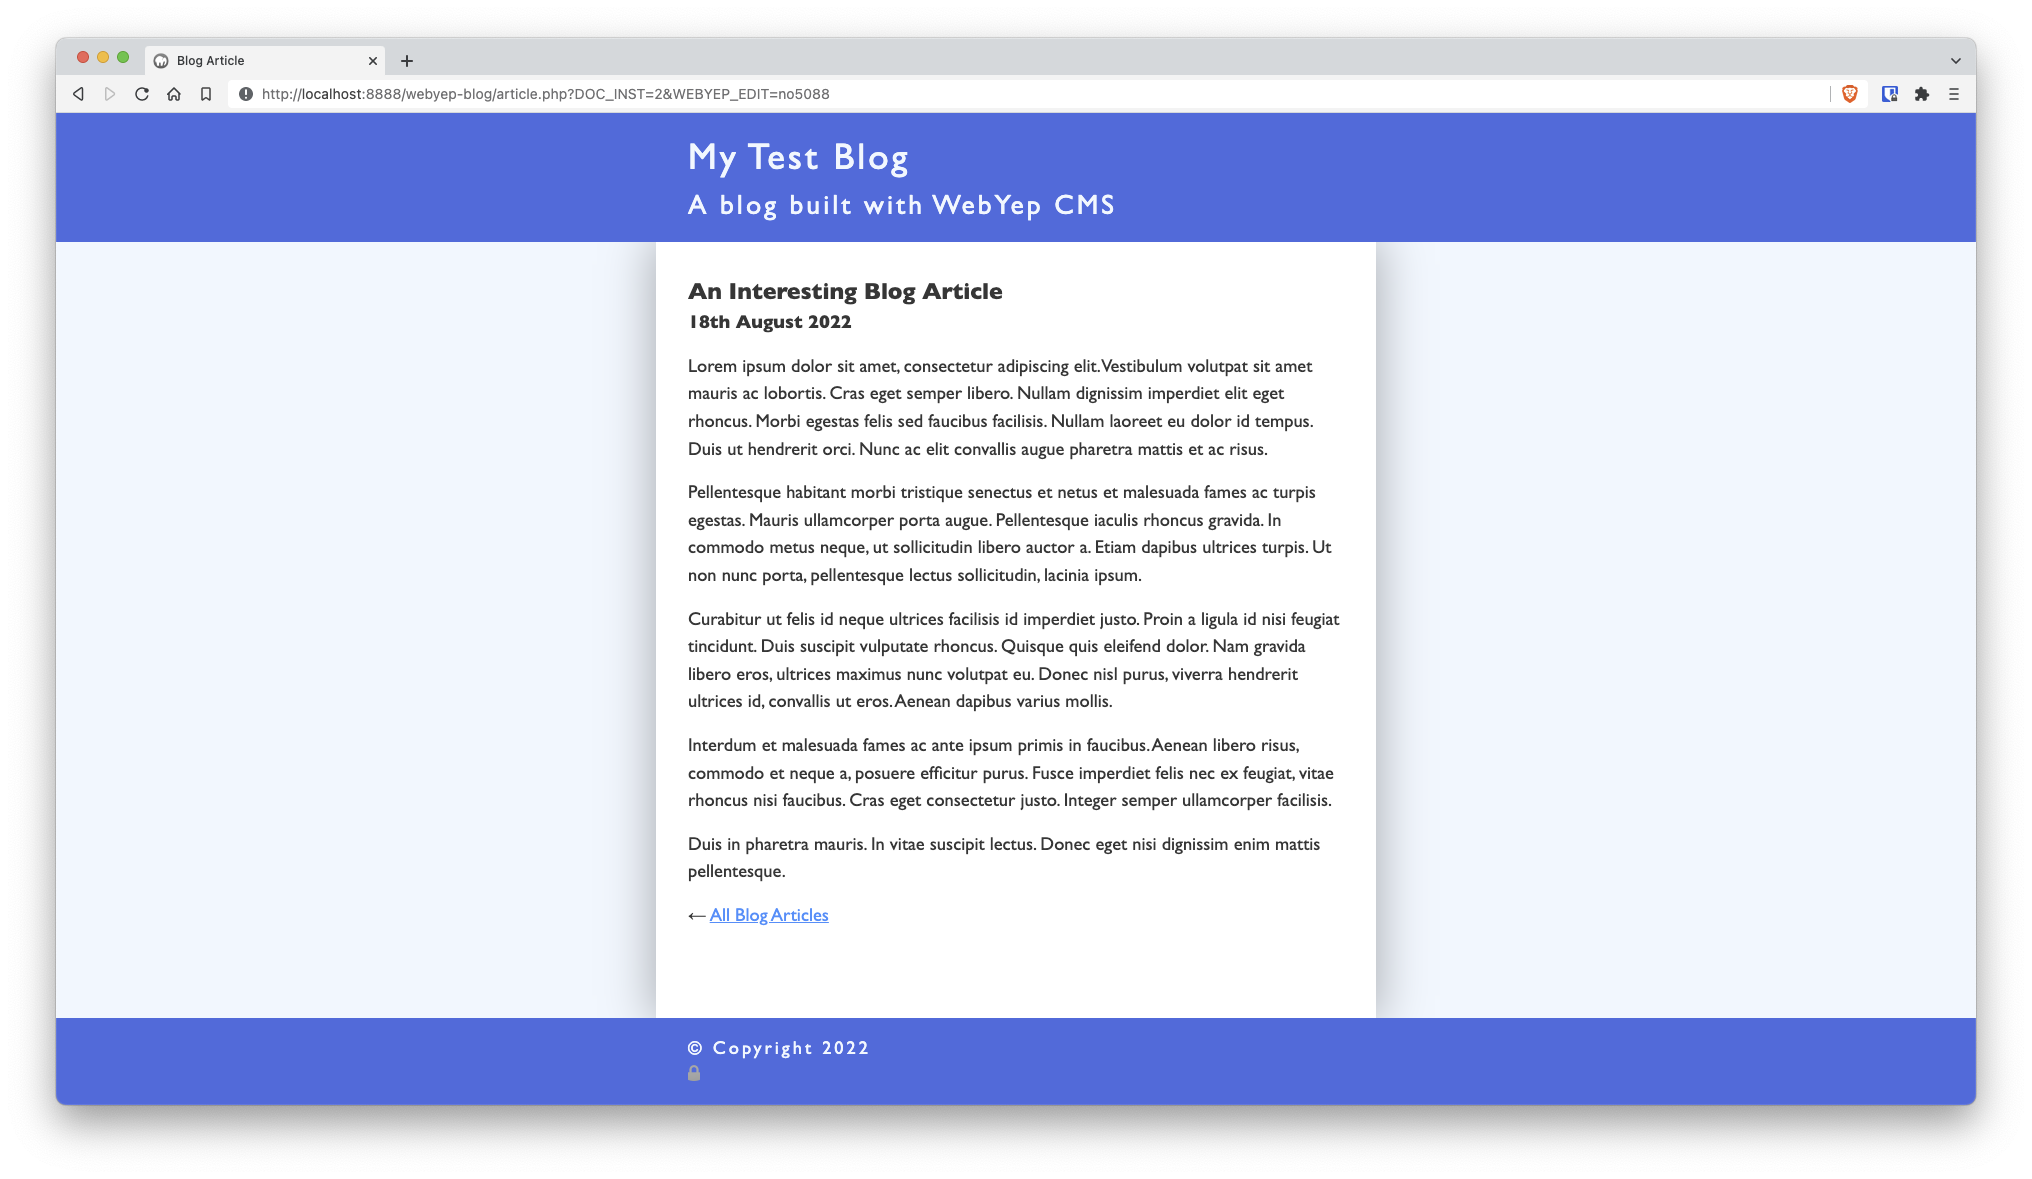
After reading the article, they can either use their browser 'back' button or the link at the bottom of the article page, to return back to the blog summaries again.
All in all, a simple and reliable blogging setup that covers all the basics.
Download the sample project file
You can download all the code I wrote for this tutorial here. The project file contains the following:
- blog.php - The blog summaries page.
- article.php - The page template WebYep dynamically populates with the blog article content.
- styles.css - Just some rudimental styling for the blog summaries and articles.
- scripts.js - A working example of how to apply article links onto the article summary titles.
This sample project works with either the free or commercial versions of WebYep. Both WebYep version 2 and version 3 are supported. The only difference being that the commercial version of WebYep gives you the 'Redactor' rich text editor and file manager. If using the free version of WebYep, you may need to change the rich text editor used or swap it out for a long text element (which works perfectly for blog articles requiring only basic formatting options).
Add the WebYep system folder to this test project. Then export or publish all the files to a web server with PHP support. Point your browser to the blog.php page, and then you can practice adding new blog articles yourself.